🏷️ Custom Appointment Statuses: Track Every Stage of an Appointment, Your Way
🧭 Overview
Every appointment moves through stages — booked, confirmed, in progress, completed — but not every business works the same way. With Custom Appointment Statuses, you can now define the stages that match how your team actually works, and track every appointment your way.
✨ What's New?
🏷️ Custom Appointment Statuses
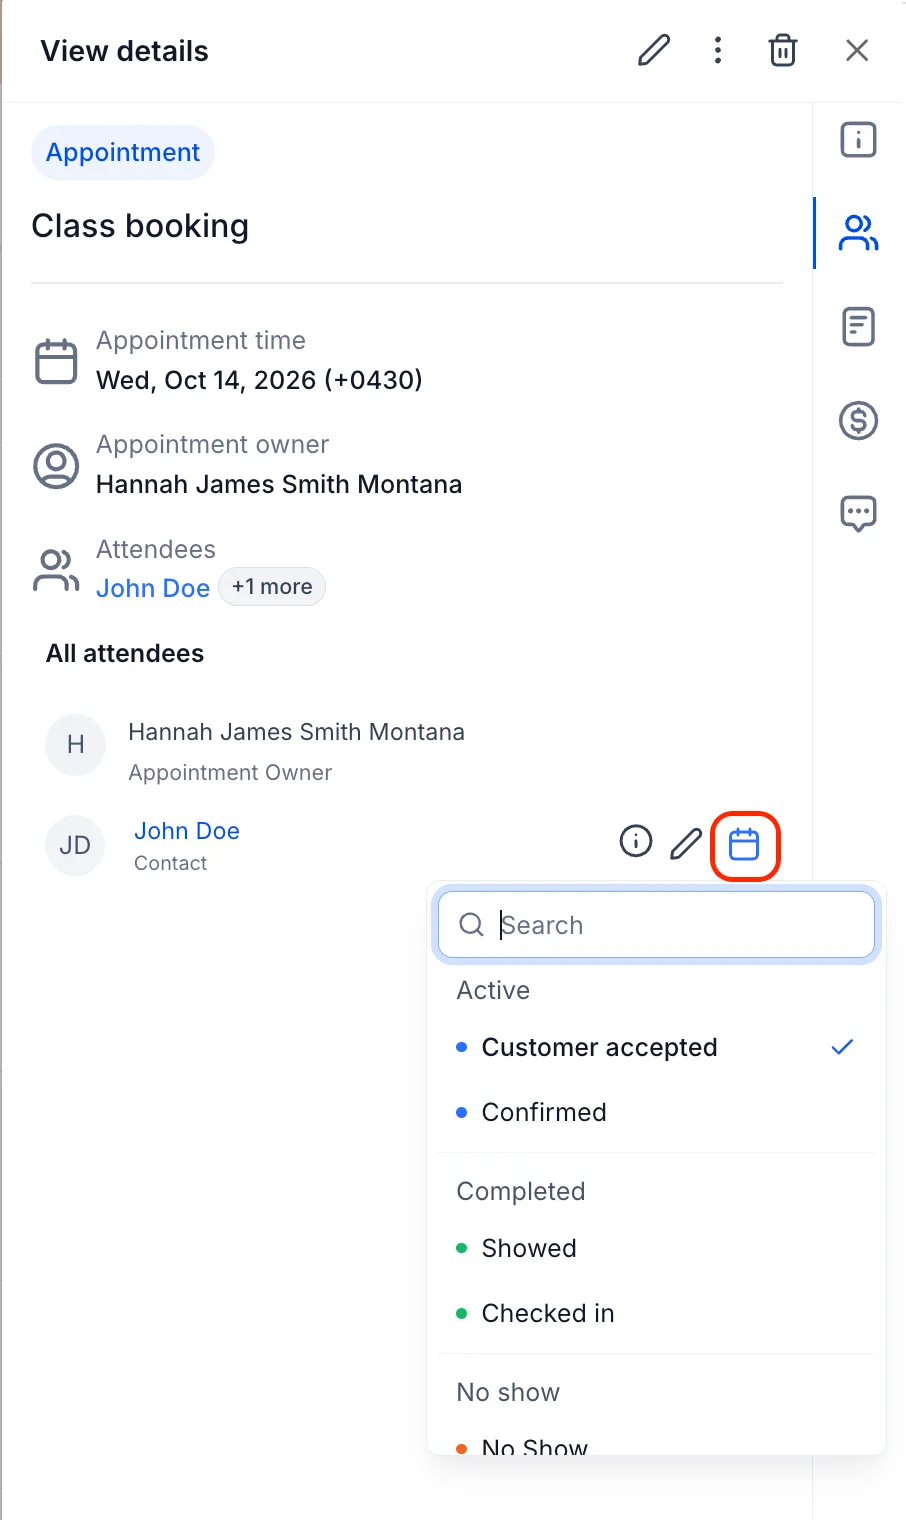
You can now create your own appointment statuses, give each one a name and a color, and apply them to appointments. No more forcing your workflow into a fixed list — your statuses reflect your process, whether that's "Consultation done," "Waiting on parts," or "Ready for pickup."
🎨 Make Statuses Yours
- Name them your way — Create statuses that match the language your team already uses.
- Color-code at a glance — Give each status its own color, so anyone can see where an appointment stands without opening it.
- Set a default — Choose a default status for new appointments, so nothing starts out unmarked.
🛠️ How to Use It
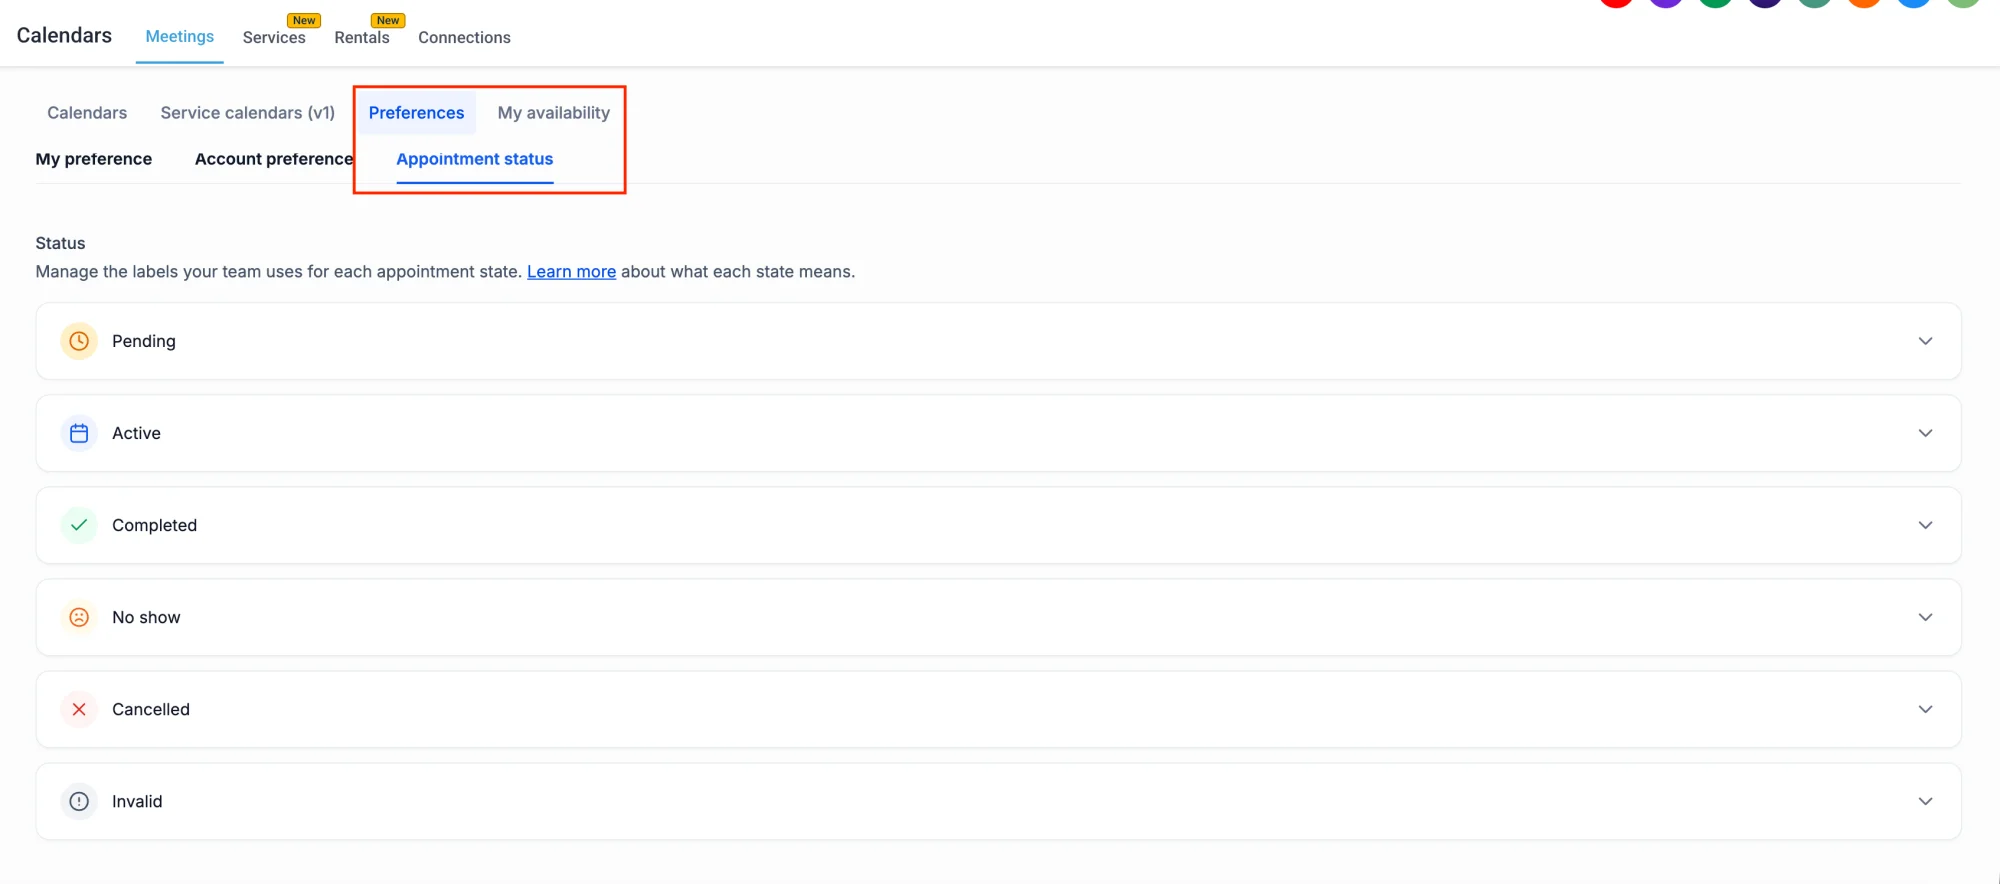
Step 1: Go to Calendar Settings → Appointment Statuses
Head to your calendar settings and open the Appointment Statuses section to see all your statuses in one place.
Step 2: Create a new status
Click Add status and give it a name and a color. The color is what your team will see at a glance, so pick something that stands out for the stages that matter most.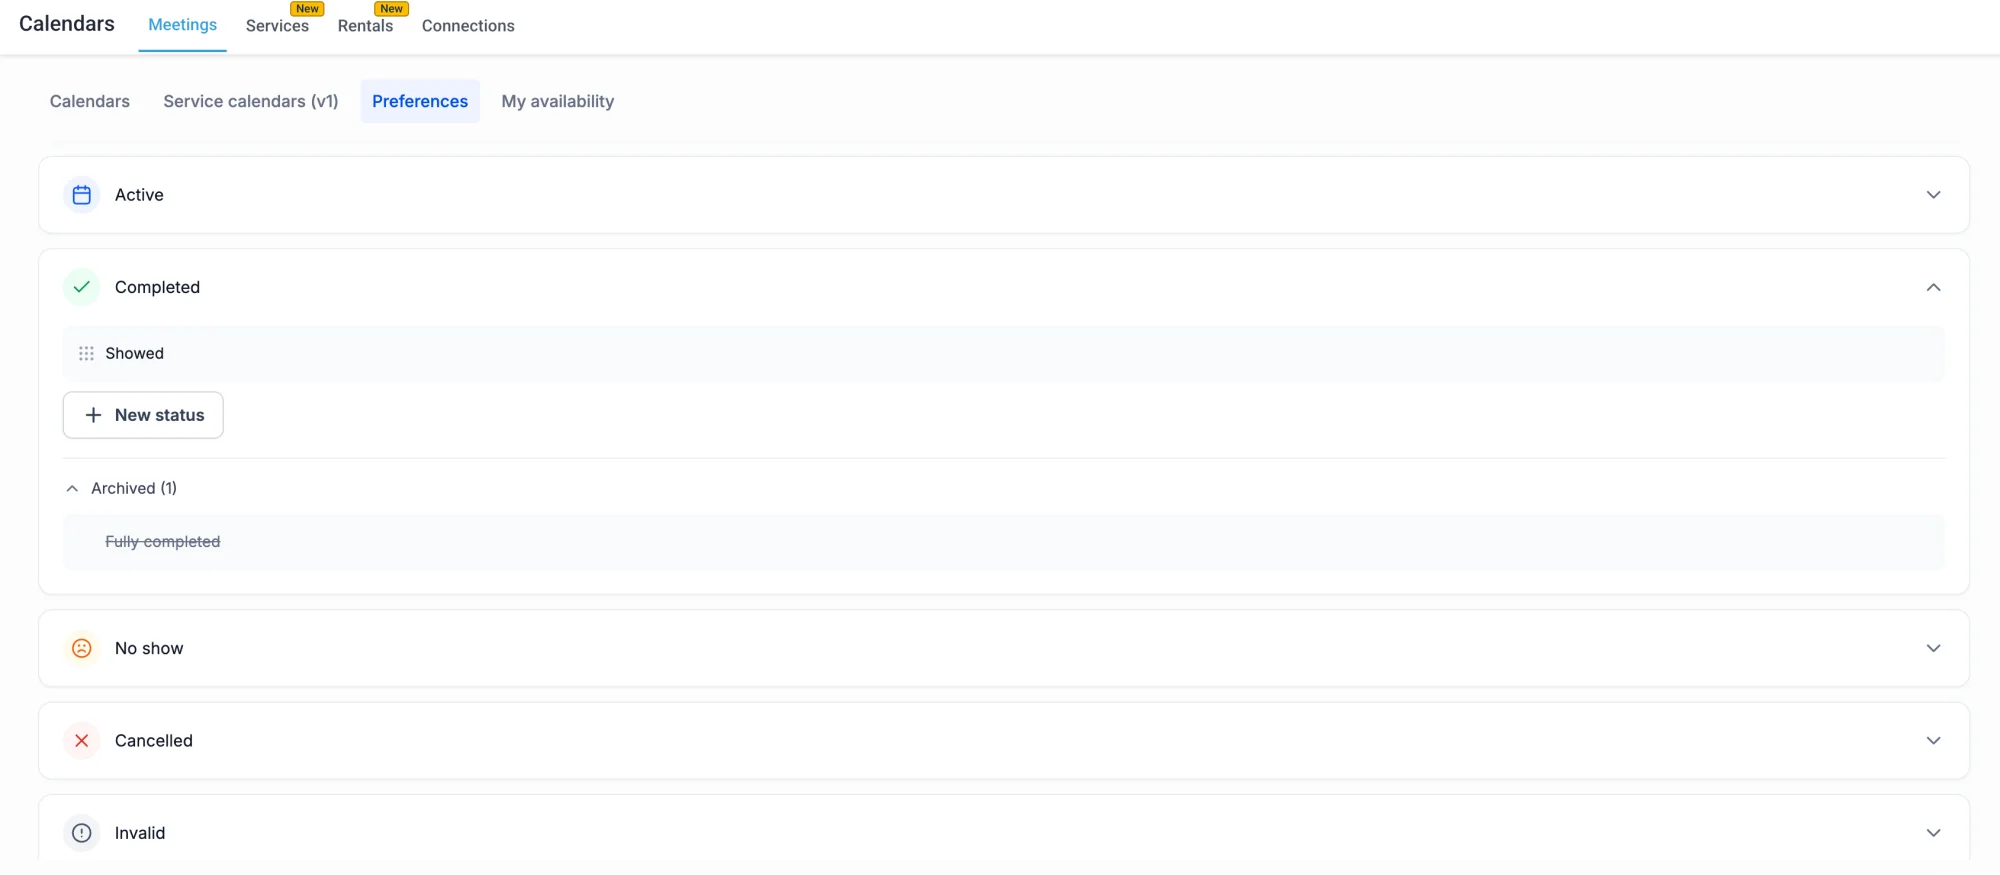
Step 3: Set a default status
Pick one status as the default for new appointments, so every appointment starts with a clear stage. You can change it later, and you can edit or remove any status at any time.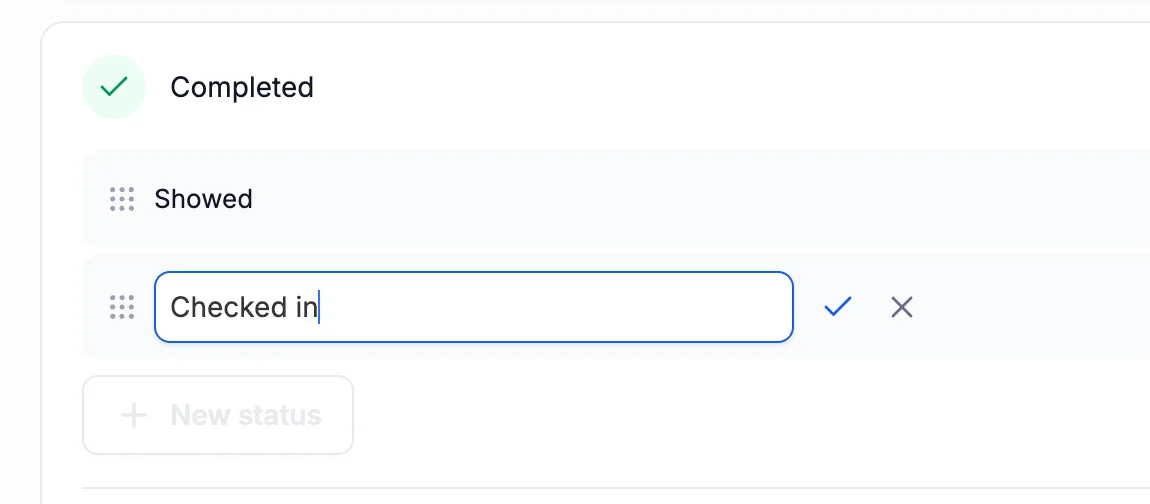
👀 Apply Statuses to Appointments
Once your statuses are set up, applying one is simple. Open any appointment, choose its status, and the color-coded label shows up wherever that appointment appears — on the calendar, in lists, and in the appointment itself.
📅 See Status at a Glance
Your calendar becomes a map of where everything stands. A quick scan shows which appointments are confirmed, which are in progress, and which need attention — no digging, no guessing, and no missed follow-ups.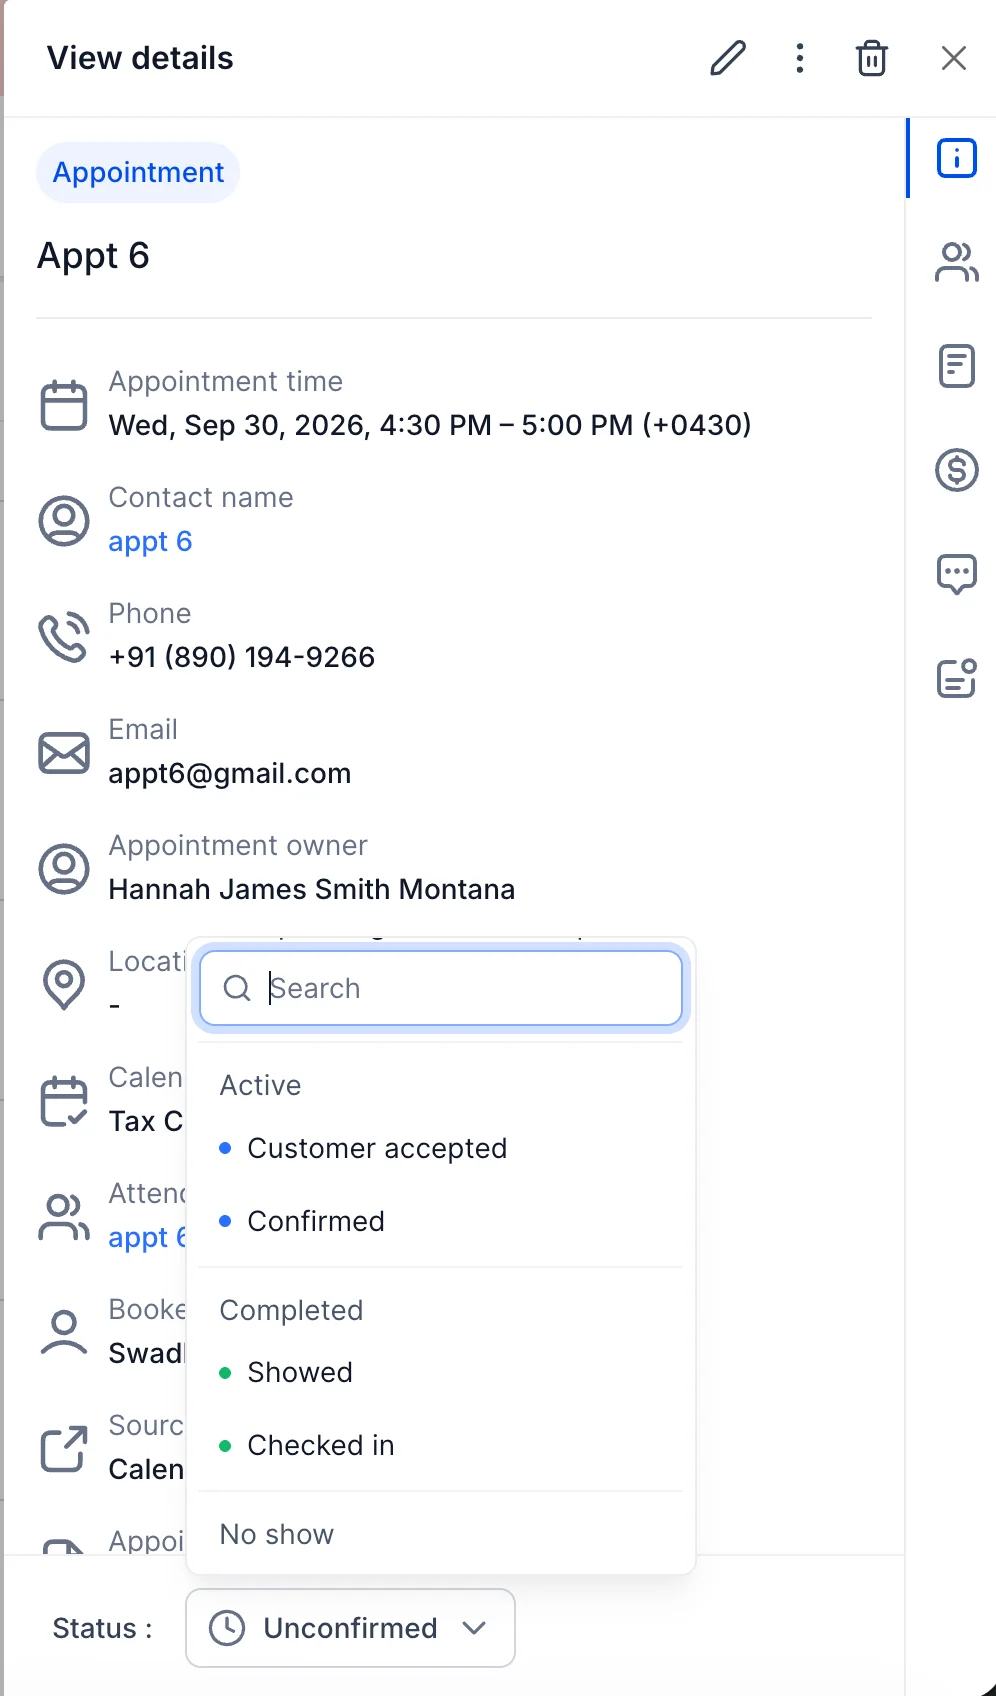
💡 Why This Matters
- Your process, your words — Statuses match how your team actually works, so there's no translation needed.
- Clarity at a glance — Color-coded statuses mean anyone can see where an appointment stands in seconds.
- Nothing falls through the cracks — With a default status and clear stages, every appointment has a next step.
- Built for real teams — Whether you're a solo provider or a large operation, field teams and reseller agencies can track stages consistently across every appointment.